 A Simple 800-Word Guide to Trezor.io/start
If you recently purchased a Trezor hardware wallet, you’re already taking one of the smartest steps toward protecting your cryptocurrency. Trezor wallets are known for their strong security, easy-to-use interface, and complete user control over private keys. But to start using your wallet, you need to set it up correctly — and that begins at Trezor.io/start.
This article explains what the website is for, how to use it safely, and the full process of setting up your Trezor wallet in clear, beginner-friendly language.
What Is Trezor.io/start?
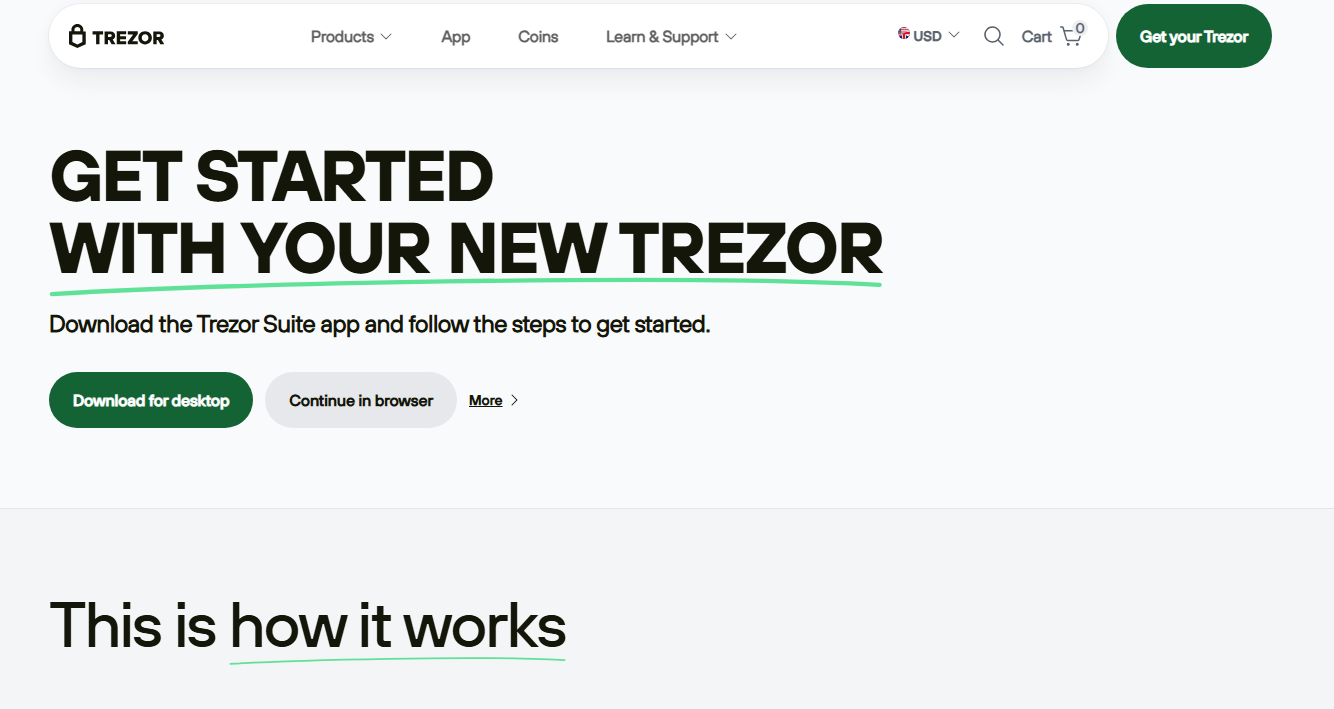
Trezor.io/start is the official setup page for all Trezor hardware wallets, including the Trezor Model One, Trezor Model T, and Trezor Safe 3. This is where new users go to:
Download the official Trezor Suite app
Install the latest firmware on the device
Create or recover a crypto wallet
Learn how to manage and secure their digital assets
In simple words, it is the starting point for making your Trezor wallet ready for use.
Why the Setup Page Matters
Setting up a hardware wallet is not the same as creating an online exchange account. You are becoming the true owner of your crypto. That means your security depends on you, and following proper steps is crucial.
The Trezor.io/start page ensures:
You download the correct software
You follow trusted instructions
You avoid fake download links or scam tools
You complete a safe, step-by-step initialization
Using only the official website is extremely important. Never download Trezor software from third-party sites.
Step-by-Step: How to Get Started at Trezor.io/start
Below is a simple walkthrough of everything you need to do to set up your new Trezor wallet.
1. Visit the Official Website
Open your browser and type:
Make sure the URL is correct. Watch out for misspellings or extra words—fake sites often try to imitate the official address.
2. Choose Your Trezor Model
Once the page opens, it will ask you to select your wallet model. Choose the exact device you own. This ensures the instructions and firmware download are correct.
3. Download Trezor Suite
Trezor Suite is the official desktop application used to manage your wallet. It allows you to:
Send and receive cryptocurrencies
View your portfolio
Update your device
Manage security settings
Download Trezor Suite for Windows, macOS, or Linux based on your computer.
After downloading, install the application by following on-screen prompts.
4. Connect Your Trezor Wallet
Use the USB cable included in the box to connect your Trezor wallet to your computer.
Trezor Suite will automatically detect your device.
If your wallet is new, it will likely prompt you to install firmware.
5. Install or Update Firmware
Firmware is the internal software that runs your Trezor device. Installing the latest version ensures:
Stronger security
Better crypto support
Improved features
Follow the instructions in Trezor Suite to install or update the firmware.
This step only takes a few minutes.
6. Create a New Wallet
Once the firmware is ready, Trezor Suite will give you the option to:
Create a new wallet, or
Recover an existing wallet
If this is your first time, choose Create new wallet.
7. Write Down Your Recovery Seed
This is the most important step in the entire setup.
Trezor will generate a 12-word, 18-word, or 24-word recovery seed phrase.
This seed is what allows you to recover your crypto if:
Your Trezor is lost
Your device breaks
You forget your PIN
You want to move funds to another hardware wallet
Write the words on paper—never store them online.
Do not:
Take a photo
Save it in your phone
Email it
Upload it to the cloud
Anyone with your recovery seed can access your crypto.
Store it in a safe, secure, offline location.
8. Set a Strong PIN
After saving your recovery seed, you will create a PIN for your device.
This prevents unauthorized access if someone gets physical possession of your Trezor.
Choose a PIN that is not easy to guess.
9. Your Wallet Is Ready
Once the seed and PIN are set, Trezor Suite will take you to your dashboard.
From here you can:
Add different cryptocurrencies
Send and receive crypto
Track your portfolio value
Enable additional security features like passphrases
Your Trezor wallet is now fully operational and ready to use.
Tips for Safe Usage
To keep your crypto safe, follow these simple guidelines:
Always visit the official website: Trezor.io/start
Never share your recovery seed with anyone
Never type your seed phrase into websites or apps
Do not use unofficial software or extensions
Keep your Trezor firmware updated
Store your recovery seed in a secure offline location
Beware of support scams — Trezor staff will never ask for your seed
Following these rules ensures your digital assets remain protected.
Final Thoughts
Trezor.io/start is the official and safest place to begin your Trezor journey. The setup process is simple, beginner-friendly, and designed to give you full control over your crypto. Whether you’re new to hardware wallets or switching from another brand, Trezor makes managing digital assets secure and convenient.
With your Trezor device properly set up, you can confidently store cryptocurrency without relying on exchanges or online wallets.